Starting your painting journey can feel like stepping into a colorful but overwhelming world. There are brushes, paints, canvases, and countless techniques to explore. But here’s the secret: you don’t need to master everything at once. By learning a few approachable methods, you can unlock your creativity and build real skills over time. Whether you’re picking up a brush for the first time or returning after a long break, this guide will walk you through painting techniques that make the process enjoyable, not intimidating.
1. Setting the Stage: Choosing the Right Tools
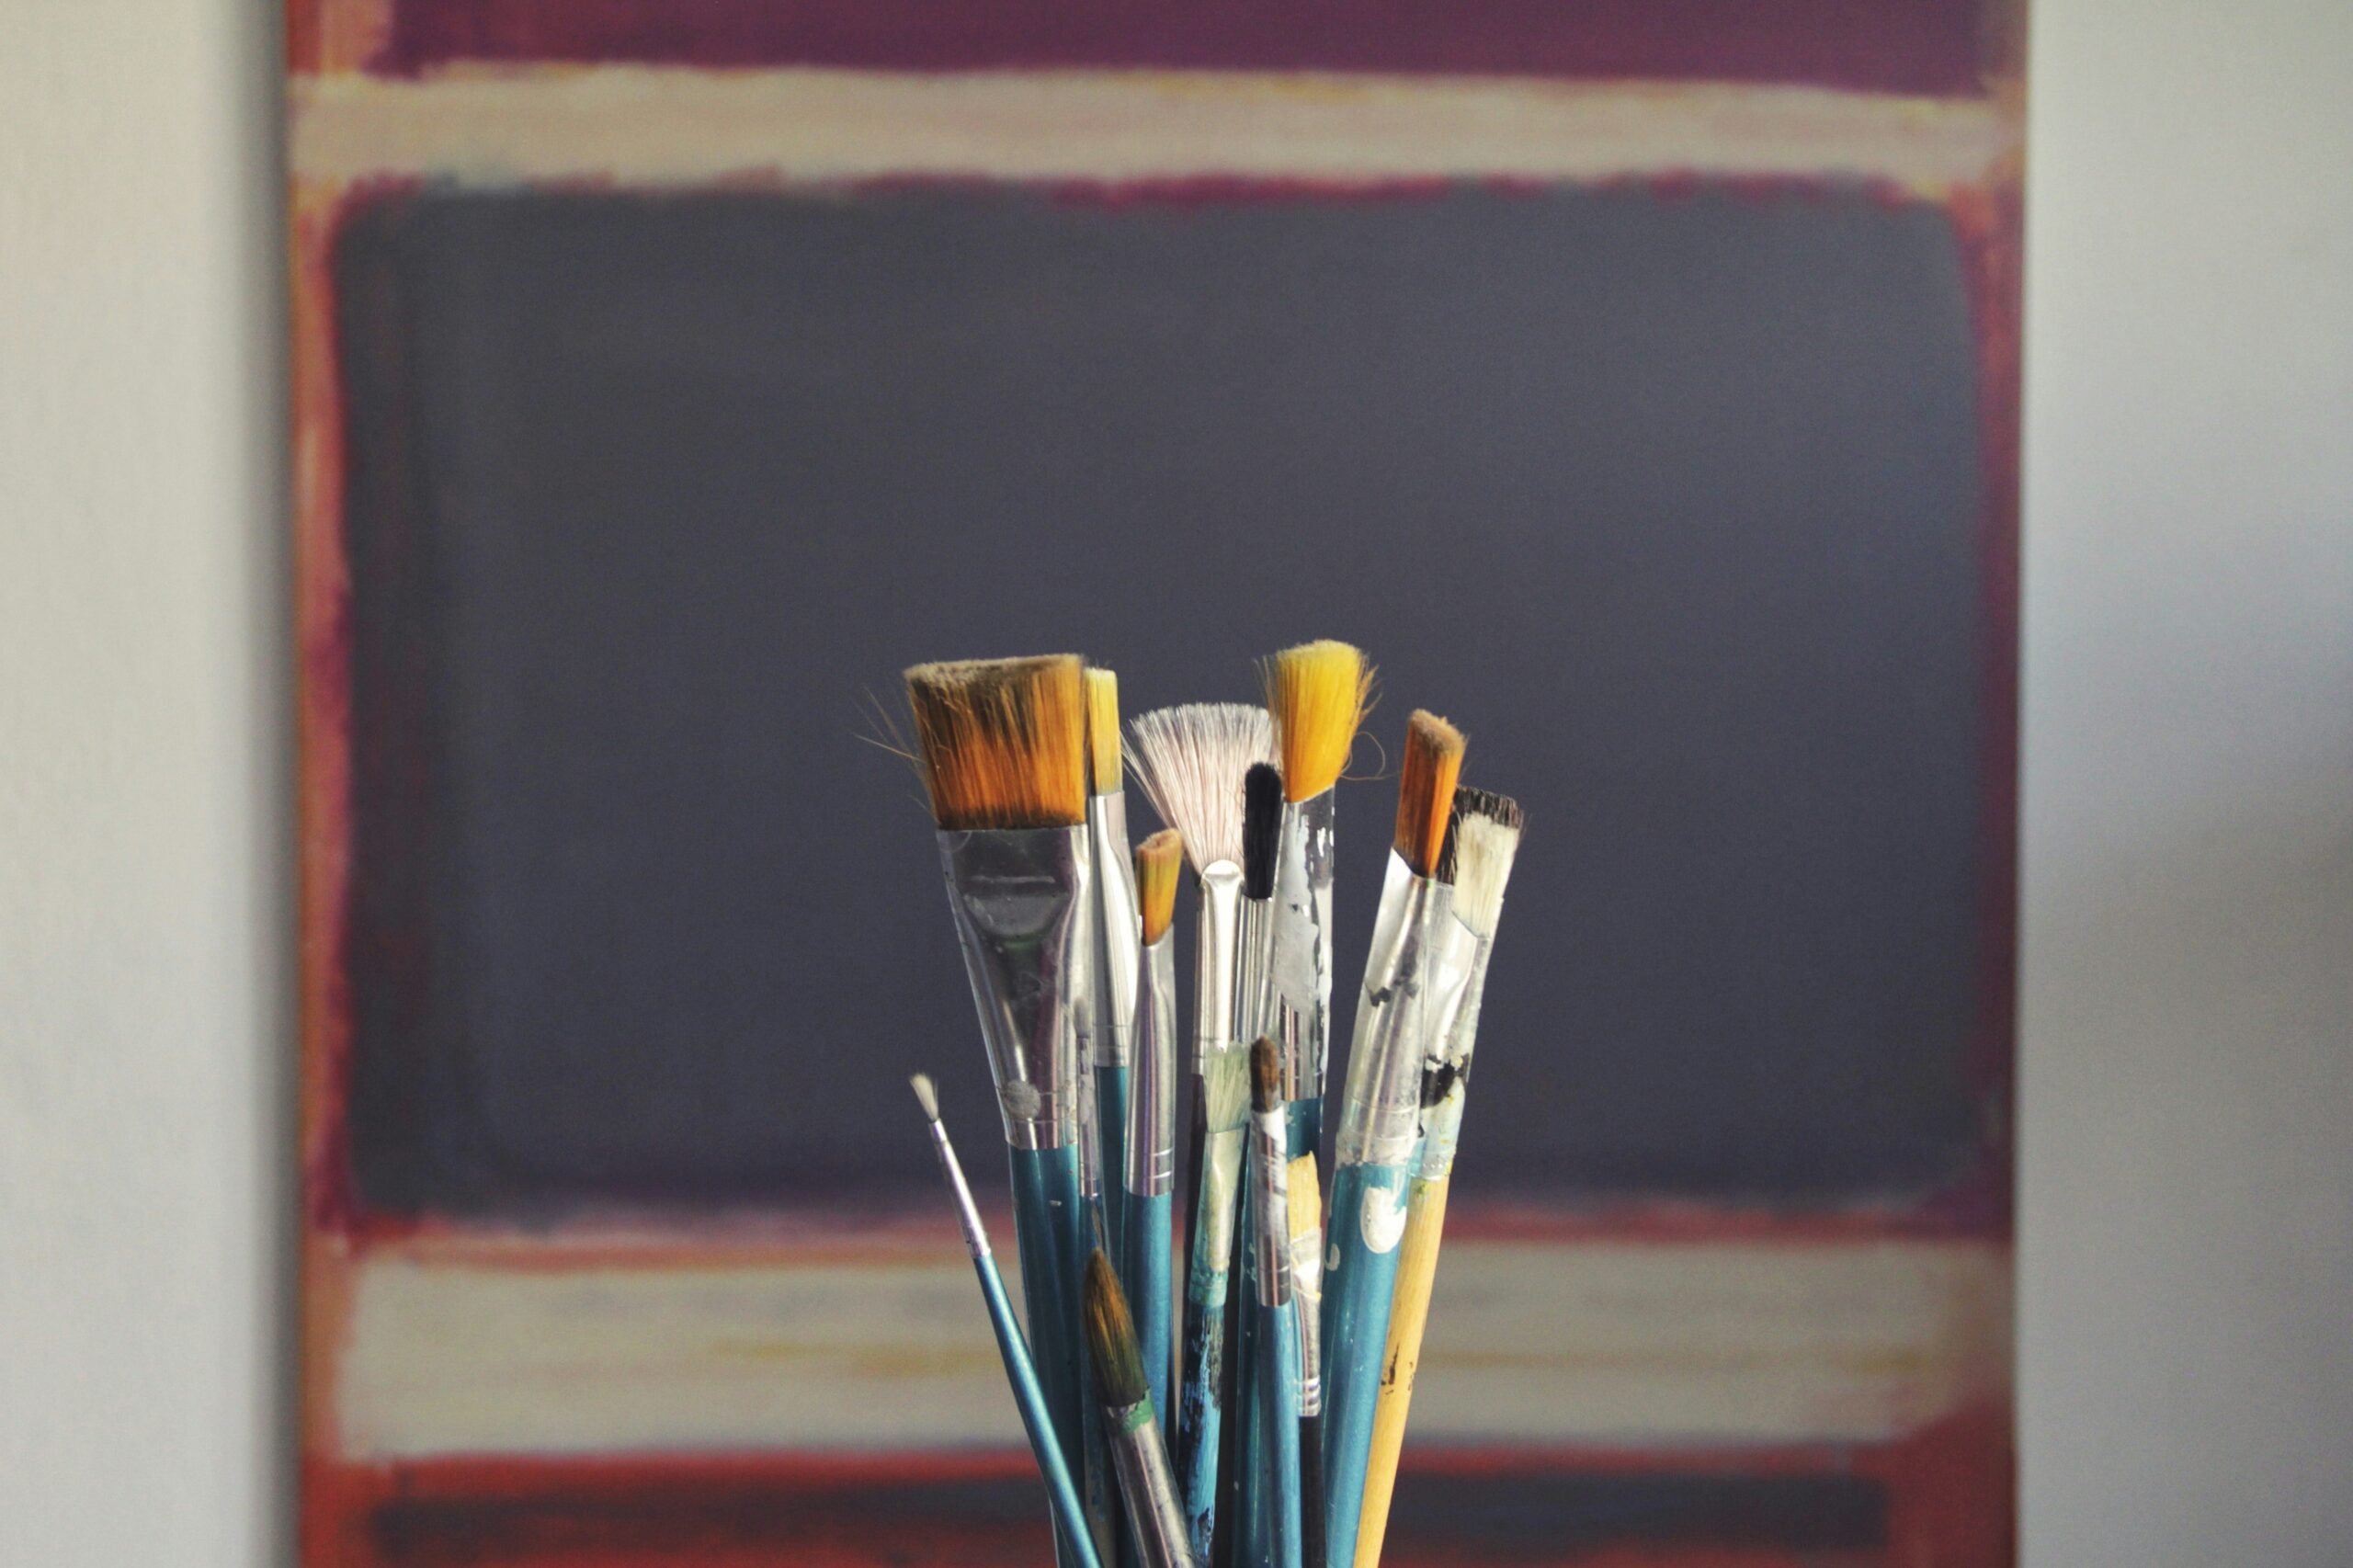
Before diving into techniques, it helps to get comfortable with the basic tools. A simple starter kit usually includes a flat brush, a round brush, and a detail brush. These three can cover most beginner techniques. For paints, acrylics are often the easiest to work with—they dry quickly, clean up with water, and don’t have strong fumes.
If you’re on a budget, even inexpensive brushes and student-grade paints are fine for practice. The goal is to experiment, not produce a masterpiece on day one. A smooth paper pad or small canvas panel will also do the trick for your first attempts.
2. The Power of the Dry Brush
One of the simplest yet most striking techniques is dry brushing. As the name suggests, you load a small amount of paint onto a mostly dry brush and sweep it lightly across the surface. This creates a scratchy, textured effect that’s perfect for painting grass, wood grain, or even clouds with soft edges.
For example, to paint a rustic wooden fence, use a flat brush with a dab of light brown. Gently drag it across a darker base layer, letting some of the underpaint show through. The result looks surprisingly realistic with minimal effort.
3. Mastering the Magic of Blending
Blending gives your work a soft, natural feel—ideal for skies, gradients, and smooth backgrounds. With acrylics, the key is speed because they dry fast. Start by laying down two colors side by side on the canvas, then use a clean, slightly damp brush to sweep back and forth along the border where they meet. Think of it as softly “marrying” the colors together.
A classic exercise is creating a sunset: lay yellow near the horizon, orange in the middle, and pink or purple at the top. Blend where each color meets, and you’ll have a dreamy sky in minutes.
4. Layering Like a Pro
One of the joys of painting is watching your work evolve through layers. Instead of trying to get everything perfect in one go, build up your image gradually. Start with large shapes and base colors, let them dry, and then add details and highlights on top.
For instance, when painting a tree, lay down the trunk and foliage shapes first. Once dry, use a smaller brush to add leaves, shadows, or bark texture. This step-by-step layering gives your painting depth and dimension without pressure to “nail it” right away.
5. Exploring Bold Strokes with Impasto
If you love texture and want your paintings to have a tactile, expressive quality, try impasto. This technique involves applying paint thickly—either with a palette knife or a stiff brush—so it stands off the canvas. It’s commonly used in oil painting, but you can achieve a similar effect with heavy-body acrylics.
Think of Vincent van Gogh’s swirling skies in Starry Night—that’s impasto in action. You can use it to highlight flowers, create textured waves, or simply bring energy to your work. Don’t be afraid to experiment with bold, confident strokes; impasto celebrates imperfection.
6. Glazing for Subtle Depth
Once you’re comfortable with layering, glazing opens up a whole new world of subtle effects. Glazing means applying a thin, transparent layer of color over a dry layer. This softens edges, enriches tones, and can create the illusion of depth.
For example, imagine you’ve painted a blue vase that looks a bit flat. By mixing a little blue paint with a glazing medium (or water for a beginner version) and brushing a transparent layer over the vase, you can deepen the color in certain areas without repainting the whole thing. It’s like adding a light filter to your work.
7. Playing with Splatter and Sponging
Painting doesn’t always have to involve neat brushwork. Splattering is a fun way to add dynamic effects, like starry skies, sandy textures, or abstract energy. Simply dip your brush in slightly watered paint and flick it with your finger toward the canvas. Practice on scrap paper first—it can get messy!
Sponging, on the other hand, uses a natural or synthetic sponge to dab paint onto the surface. It’s great for creating clouds, foliage, or textured walls in landscape scenes. Dab gently for a soft effect or press harder for bolder textures.
8. Finding Your Own Style Through Practice
Perhaps the most important “technique” of all is simply showing up and playing. Every artist develops their unique way of holding a brush, mixing colors, and making marks. At first, you might mimic tutorials or famous styles, and that’s perfectly fine—it’s how many great artists learned. Over time, you’ll naturally gravitate toward certain techniques and develop your own rhythm.
Consider setting aside a “practice canvas” where you try new methods without worrying about the final result. Test blending on one corner, try impasto in another, and experiment with glazes in between. These low-stakes sessions are where breakthroughs often happen.
Wrapping It Up
Painting is less about perfection and more about expression. Techniques like dry brushing, blending, layering, and glazing are tools to help you bring your vision to life. As you explore, remember that every artist—from hobbyists to professionals—started with hesitant strokes and experimental messes. With time, practice, and a spirit of curiosity, those blank canvases will become your favorite playground.